This is Part 6 of the Solana Program Lifecycle series. In Part 5 we covered the upgrade authority lifecycle, from a single keypair through Squads multisig and SPL Governance to the irreversible --final flag. Now we step back and look at the whole pipeline: how a program moves from a file on your laptop to live bytecode on mainnet.
The short answer: it is more than solana program deploy. The deploy command is the last step, not the whole thing. Developers who skip straight to mainnet tend to discover this when a partial buffer upload stalls at 3 AM, or when a CPI that worked perfectly in local testing silently fails because the account it needed never existed outside mainnet.
The pipeline
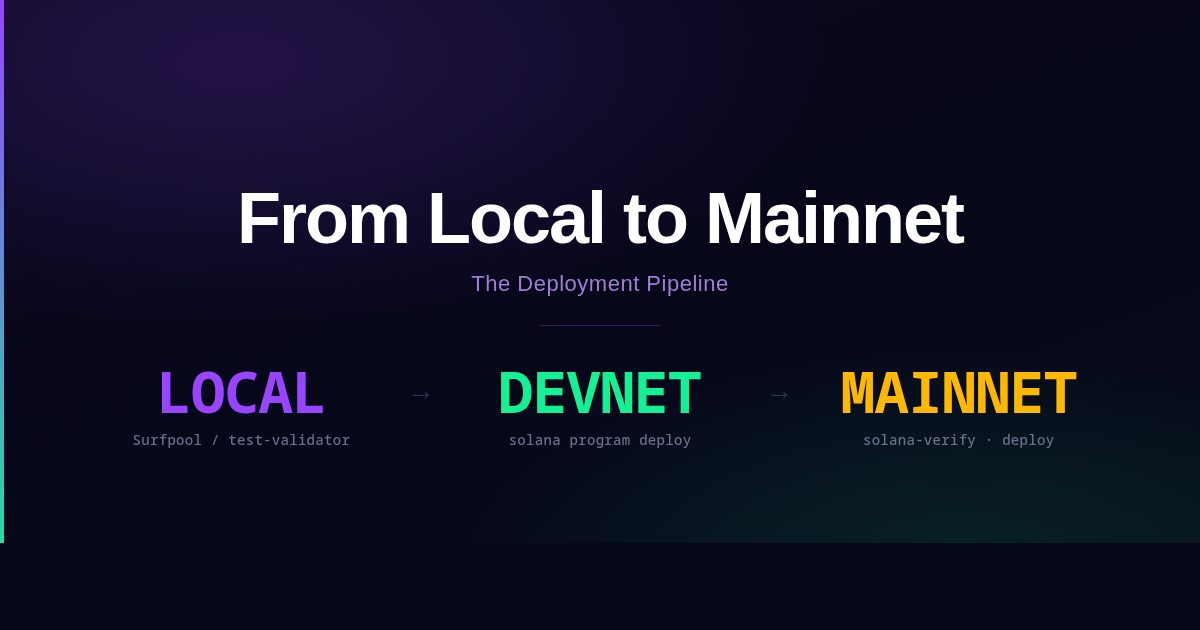
The standard progression is three environments: local, devnet, mainnet.
Local (Surfpool)       Devnet             Mainnet
────────────────────   ─────────────────  ──────────────────────
Fastest iteration      Real network       Real money
Fake SOL               Fake SOL           Real SOL
Mainnet state          Devnet state       Mainnet state
No latency             ~400ms slots       ~400ms slots
Cheatcodes available   No cheatcodes      No cheatcodes
Testnet is optional. The Solana Foundation uses it for validator testing. Most application developers skip it. Devnet is the meaningful checkpoint before mainnet.
Local testing with Surfpool
solana-test-validator (also exposed as solana local-validator in newer CLI versions) is obsolete. The modern local testing tool is Surfpool, maintained by the Solana Foundation.
The practical difference is state. solana-test-validator runs an isolated network with no access to real account data. Testing a CPI into Jupiter requires manually cloning dozens of accounts and programs before a single test can run. Surfpool is a lazily forked network: it fetches mainnet (or devnet) account data on demand as your transactions access it. The first access to an account that does not exist locally triggers a fetch. Subsequent accesses read from the local copy.
Install it with the one-liner, then point your Solana CLI at the local RPC it starts on port 8899:
The Studio dashboard is at http://127.0.0.1:18488 once Surfpool is running.
For Anchor projects, your Anchor.toml should already have the local cluster pointing to http://localhost:8899. For Anchor test suites, use the compatibility flag:
| |
Cheatcodes are special RPC methods Surfpool exposes for development. They do not exist on real networks.
surfnet_setAccount: set lamports, data, owner, and executable flag on any accountsurfnet_setTokenAccount: set SPL token account balances, delegates, and statesurfnet_resetAccount: restore an account to its original mainnet state
Time travel is available via cheatcodes (surfnet_timeTravel, surfnet_pauseClock, surfnet_resumeClock) and through the Studio UI. Useful for anything that reads Clock::get(): vesting schedules, lockups, epoch-bound reward distributions.
The Studio (at http://127.0.0.1:18488) shows transaction details, account bytes before and after each instruction, compute unit profiles per instruction, and a live faucet called “The Heist” that funds any account with any token instantly, no rate limits.
To fork from a specific RPC instead of the default public endpoint, pass --rpc-url:
| |
The default public endpoint works for low-traffic testing but is rate-limited. For heavier mainnet forking, use a private RPC from Helius, QuickNode, or Triton.
Devnet: testing the real deploy pipeline
Devnet is not just another local environment. It runs the same deploy flow as mainnet, which means it exercises the same edge cases: chunked writes, buffer account creation, activation instructions, priority fee handling. Problems that only manifest in the real deploy pipeline surface here, with fake SOL.
Switch clusters:
| |
Get devnet SOL:
| |
Deploy:
After a successful devnet deploy, run your full integration test suite against devnet. If a test passes locally with Surfpool but fails on devnet, the difference is almost always one of:
- Account state you assumed existed but does not exist on devnet
- Clock or slot-dependent logic that behaves differently under real timing
- Priority fees too low for devnet congestion
Devnet resets periodically. Programs deployed there are wiped on reset. Do not treat devnet state as persistent.
What a deploy actually costs
The cost of deploying a program is dominated by rent, not fees. The Program Account is 36 bytes of pointer data. The ProgramData Account holds the full bytecode and is where the real cost lives.
Check the rent-exempt minimum for any size:
| |
The ProgramData account header is 45 bytes. For a 200KB program binary:
For a 400KB program:
That SOL is not a fee. It stays locked in the ProgramData account as rent-exemption. If you later close the program, it comes back to the authority. If you go immutable (covered in Part 5), it is locked permanently.
During the upload phase, the deploy also creates a temporary Buffer account the same size as the bytecode plus a 37-byte header. The activation step drains the buffer and transfers its lamports to the ProgramData account, so you do not pay both simultaneously. The net rent cost is one account.
Beyond rent, the deploy sends dozens to hundreds of transactions (one per bytecode chunk). Each transaction pays a base fee of 5000 lamports. For a 400KB program with roughly 450 transactions, base fees total around 2,250,000 lamports (0.00225 SOL). Priority fees add to that depending on network conditions.
Priority fees during deploy
Mainnet is more congested than devnet. Transactions that land cleanly on devnet can stall or fail on mainnet if their priority fees are too low.
The deploy command accepts a compute unit price:
The value is microlamports per compute unit. A typical deploy transaction uses around 3,000 to 5,000 compute units. At 50,000 microlamports per CU, the priority fee per transaction is around 150,000 to 250,000 microlamports (0.00000015 to 0.00000025 SOL). For 450 transactions, that adds roughly 0.00007 to 0.0001 SOL to the total cost. Small in dollar terms, but enough to push transactions ahead of the zero-fee queue.
During high-congestion periods, 50,000 microlamports may not be enough. Check current fee levels:
| |
Or use the priority fee API from your RPC provider, which gives per-percentile estimates based on recent landed transactions.
For write-buffer-then-upgrade flows used by multisig and governance setups, set the compute unit price on the write-buffer step as well:
The write phase has more transactions than the activation step. If write transactions stall, you end up with an orphaned buffer holding SOL.
The --max-len flag
Covered in Part 4, worth restating here. When you first deploy, the ProgramData account is sized for exactly the current bytecode. Subsequent upgrades that exceed that size will fail unless you call solana program extend first, or unless a modern CLI auto-extends (which multisig flows do not get automatically).
Deploy with headroom:
This pre-allocates 600,000 bytes even if the current binary is 400,000 bytes. The cost:
vs. the exact-size deploy:
Roughly 1.4 SOL extra locked up to avoid a future extend transaction. Whether that tradeoff is worth it depends on how often you expect to upgrade and whether your upgrade flow involves a multisig proposal that would need a separate extend step.
Post-deploy verification
After a mainnet deploy, confirm that the on-chain bytecode matches what you built locally. The basic check:
If the hashes match, the right binary is deployed. If they do not match, you deployed the wrong file or the build is non-deterministic.
solana program dump fetches the raw bytecode from the ProgramData account, strips the 45-byte header, and writes the ELF bytes to a file. It should be byte-for-byte identical to the binary you deployed.
Verifiable builds with solana-verify
The SHA-256 check proves you can recreate the same binary. It does not prove that anyone else can, or that the source code in your repository matches the deployed binary.
Verifiable builds solve this with a deterministic, Docker-based build process. The build environment is pinned: same Rust toolchain, same Solana toolchain, same dependencies. Anyone can reproduce the binary from the same source commit.
Install:
| |
Build the verifiable binary:
| |
This runs inside a pinned Docker container. The output binary lands in target/deploy/your_program.so.
Get the hash of the local binary:
| |
Get the hash of the on-chain program (-um is shorthand for mainnet):
| |
They should match. If they do not, you either deployed a different binary or ran a non-verifiable build after solana-verify build.
To register the verification on chain so anyone can trustlessly verify without running the build themselves:
This creates a PDA for the verify program that stores the git URL, commit hash, and build arguments. OtterSec’s public verification API reads this PDA and makes the verification status queryable from Solana Explorer and other tooling. Once registered, the program’s Explorer page shows a verified badge.
Build time is the practical catch. The Docker-based build takes up to 30 minutes on Apple Silicon because it emulates x86. On a native Linux x86 machine, it runs significantly faster. If you build in CI, account for this in pipeline timing.
The pre-mainnet checklist
Build and binary:
- Build with
solana-verify buildif you intend to submit a verified build, notanchor build - Hash the binary before deploying:
sha256sum ./target/deploy/your_program.so - Check binary size:
ls -lh ./target/deploy/your_program.so - Run
solana rent <bytes>for the ProgramData size and confirm your wallet covers it
Cluster preparation:
- Switch to mainnet:
solana config set --url mainnet-beta - Confirm deployer wallet and balance:
solana addressthensolana balance - Check current fees and pick a
--with-compute-unit-pricevalue:solana fees --url mainnet-beta
Authority:
- Decide the initial upgrade authority before deploying (defaults to the deployer keypair)
- If using a multisig: have the Squad PDA address ready to transfer to immediately after
- Do not leave a hot keypair as the upgrade authority longer than necessary
Deploy:
- Use
--max-lenif you expect the program to grow - Note the buffer address if the deploy fails midway (the CLI prints it)
Verify:
- Confirm authority:
solana program show <PROGRAM_ID> --url mainnet-beta - Dump and hash the on-chain binary, compare to the local binary (see “Post-deploy verification” above)
- If using verifiable builds: run
solana-verify verify-from-repoand confirm hashes match
Authority transfer:
- Transfer to the multisig:
solana program set-upgrade-authority <PROGRAM_ID> --new-upgrade-authority <SQUAD_PDA> - Confirm the transfer:
solana program show <PROGRAM_ID> --url mainnet-beta
What catches developers off guard
solana-test-validator gives false confidence. It runs in isolation. CPIs into real protocols fail because the programs and accounts are simply not there. Surfpool exposes this class of failure locally before it reaches devnet or mainnet.
The deployer wallet needs more SOL than you expect. Buffer rent plus ProgramData rent can exceed 3 SOL for a normal-sized program. Add transaction fees, priority fees, and a safety margin. Arriving at mainnet with 3 SOL and a program that needs 2.8 SOL is one network hiccup away from a partial deploy that needs recovery.
Priority fees affect the write phase, not just the activation. There are hundreds of write transactions. If they stall, you get an orphaned buffer holding locked SOL. Set --with-compute-unit-price on both write-buffer and deploy.
The build you test is not always the build you deploy. Running anchor build after solana-verify build overwrites the verified binary with a non-deterministic one. If you intend to submit a verified build, deploy the binary that solana-verify build produced, and do not rebuild between that and the deploy command.
Authority transfer is not automatic. After a first-time mainnet deploy, the upgrade authority is the deployer keypair. Leaving it there is a risk. Transfer to the multisig before you close the session.
Devnet and mainnet can share the same program ID. Anchor.toml uses separate sections for localnet, devnet, and mainnet, but they can all point to the same keypair file. This is intentional for projects that want the same address across clusters. It is also a footgun if you mix up which cluster you are targeting when running anchor deploy.
Tying it together
The deploy command is the last five seconds of a process that takes planning. Surfpool for local iteration, devnet for end-to-end pipeline validation, mainnet for production. Each environment catches something the previous one cannot.
The most common last-minute surprise is SOL. Rent is the cost, not fees. A 400KB program locks up 2.79 SOL before a single user transaction runs. Run solana rent before you start, not after the buffer upload stalls.
The upgrade authority starts as the deployer keypair. Transfer it before you close the terminal. Part 5 covers what happens if you forget.
References
- Surfpool Documentation - local testing environment and IaC for Solana
- Surfpool CLI Basics, Solana Docs - official Solana documentation for Surfpool commands
- Deploying Programs, Solana Docs - CLI deploy workflow and flags
- Verified Builds, Solana Docs - verifiable build workflow and on-chain registration
- solana-verify CLI (Ellipsis Labs) - original tool source and releases
- solana-verify CLI (Solana Foundation) - Solana Foundation maintained fork
- Program Deployment, Solana Docs - loader-v3 instruction reference